Quick Start
Installation
Command Center
Integration
This manual will help you install, set up, and launch OnLAN Messenger enterprise messaging service fast and simple. Follow the instructions accurately. Everything is going to be easy.
Installation
Step 1
Download the latest version of OnLAN Messenger by following the link to Corp Soft companyís web-site http://www.corpsoft.org/lan_messenger_download/
Step 2
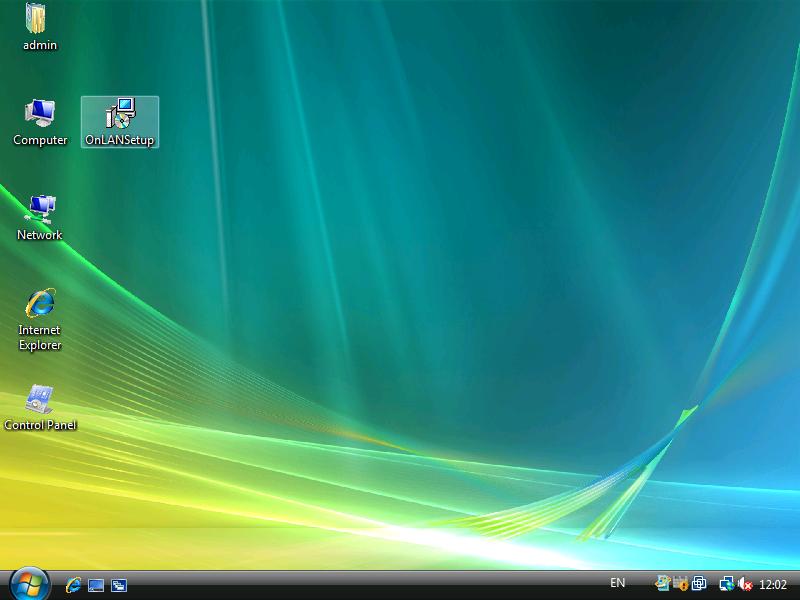
After the download has finished, start the installation by launching OnLANSetup program and following the wizardís instructions.
Step 3
Select the setup language.

Step 4
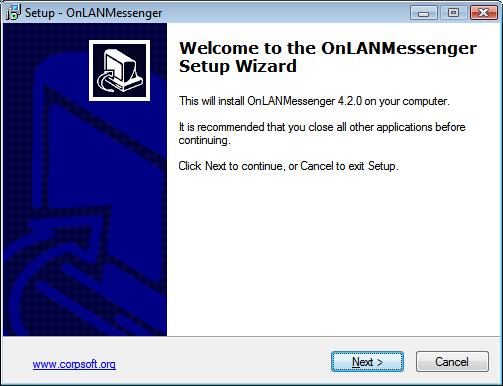
Begin the installation by clicking on ìNextî button.
Step 5
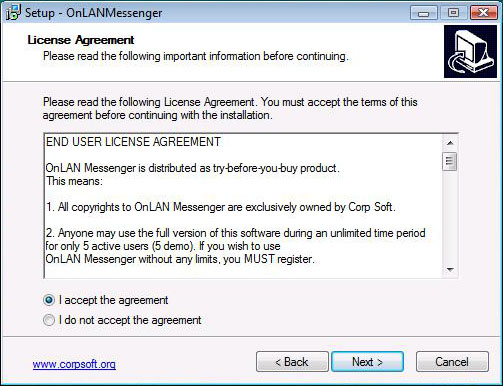
Go to License agreement. Read the License Agreement carefully and check ìI accept the agreementís conditions.î Click on ìNextî button.
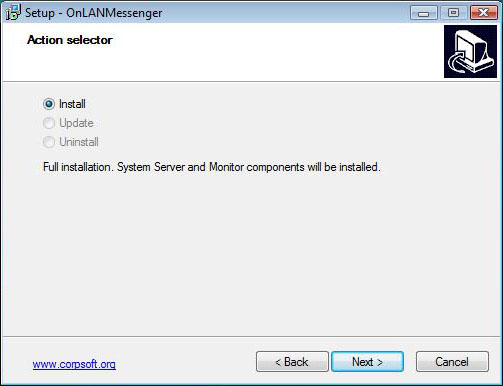
Step 6
Choose ìInstallî. Click on ìNextî button.
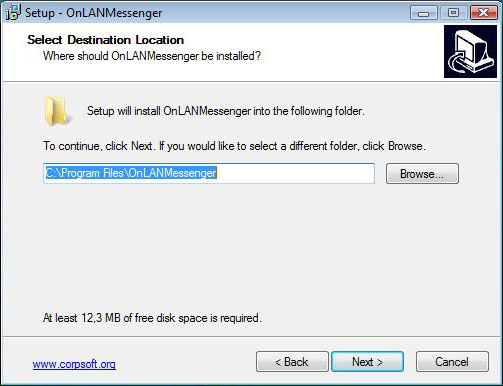
Step 7
Select destination location. Select a folder on your computer the program should be installed in. Click on ìNextî button.
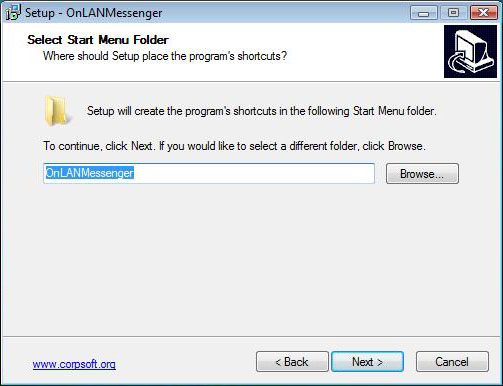
Step 8
Select Start menu folder. It is optional to enter a different name. Click on ìNextî button.
Step 9
Select additional tasks. Check ìCreate Desktop Iconî if you want to put the programís icon on the desktop. Click on ìNextî button.

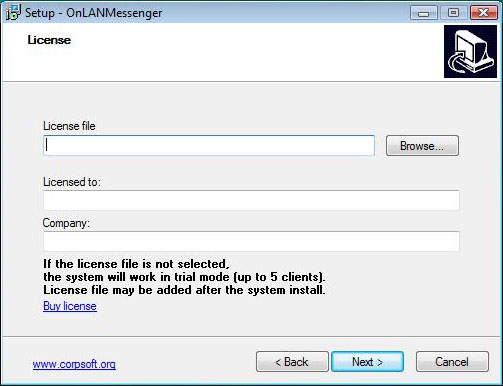
Step 10
Indicate the destination to your license file and the name of the person. You can leave the fields blank for installing the program in trial mode (5 usersí limit). Click on ìNextî button.
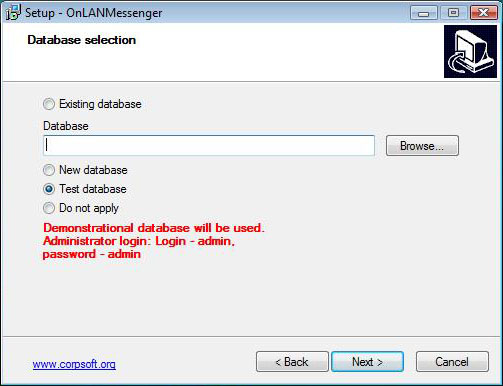
Step 11
In Database selection, indicate the destination to the existing database, create new database, use test database, or do not apply database. For trial installation, choosing test database is recommended. Click on ìNextî button.
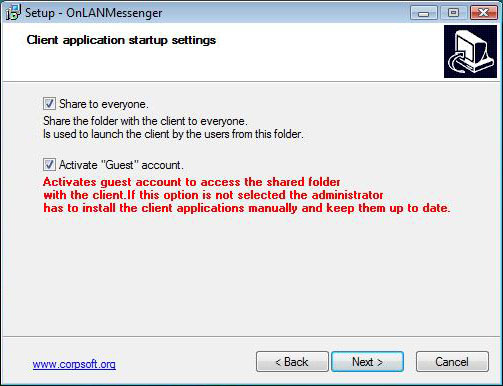
Step 12
In Client application startup settings, check ìShare to Everyoneî and ìActivate ëGuestí Accountî to simplify the access to the client applicationís modules from every location of your network. Click on ìNextî button.
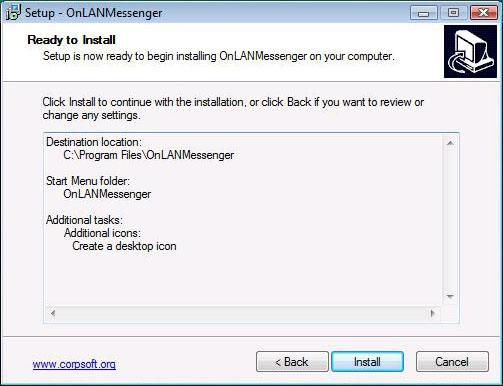
Step 13
You are now ready to install. Launch the installation process. Click on ìInstallî button.
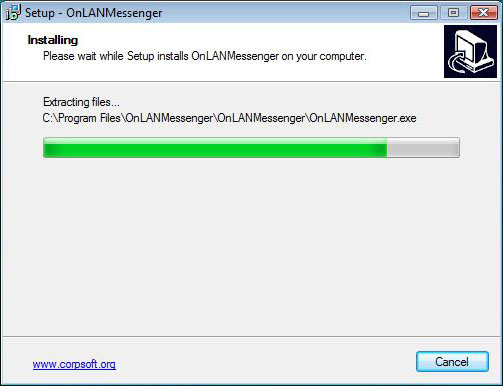
Step 14
Wait until the office messengerís installation is completed. Then click on ìFinishî button.
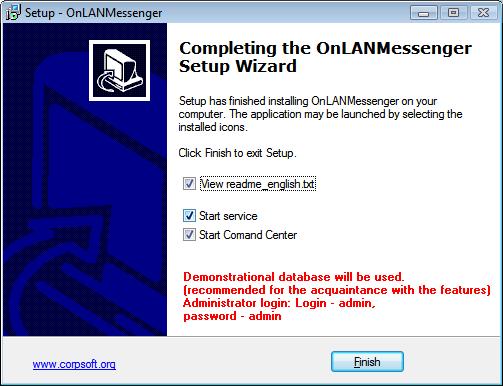
When the setup is completed, OnLAN Messenger client application needs to be launched on end usersí workstations.
Launching OnLAN Messenger Client Application
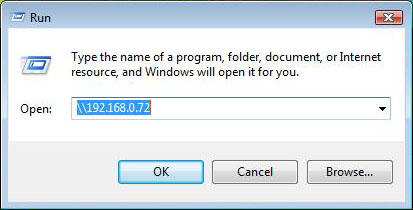
Step 15
Click on Start->Run and enter your server computerís IP address (the IP address of the computer, where the program has been installed) in the bar. Click on ìOKî button.
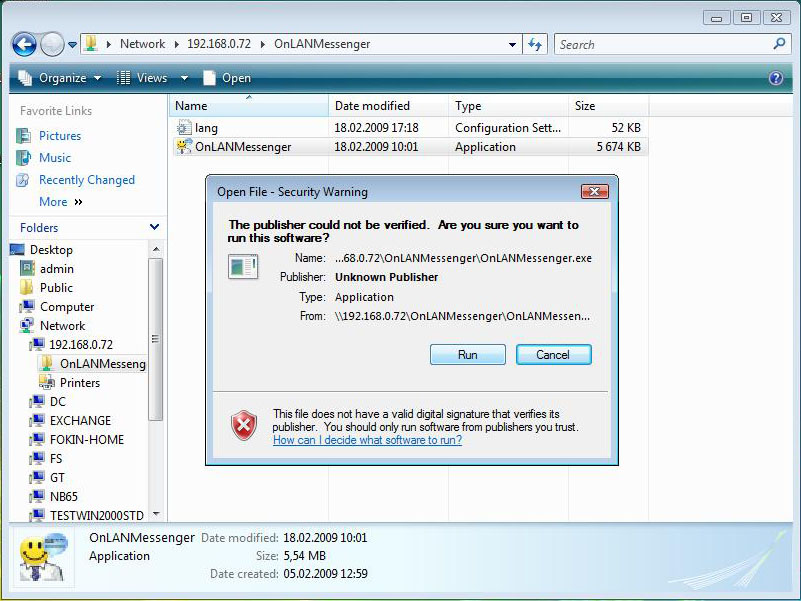
Step 16
Open the shared ìOnLANMessangerî folder and launch the client application. Click on ´Runª button.
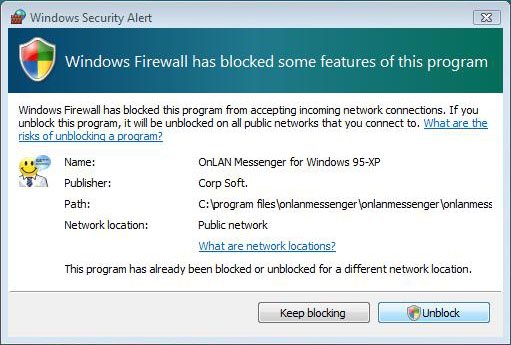
Step 17
If Windows Security Alert sign appears, stating that Windows Firewall has blocked some of the programís features, click on ìUnblockî button. If Windows Security Alert sign doesnít appear, but you face difficulties while using the program, you can turn off Windows Firewall manually by clicking on Start->Settings->Control Panel->Windows Firewall.
Step 18
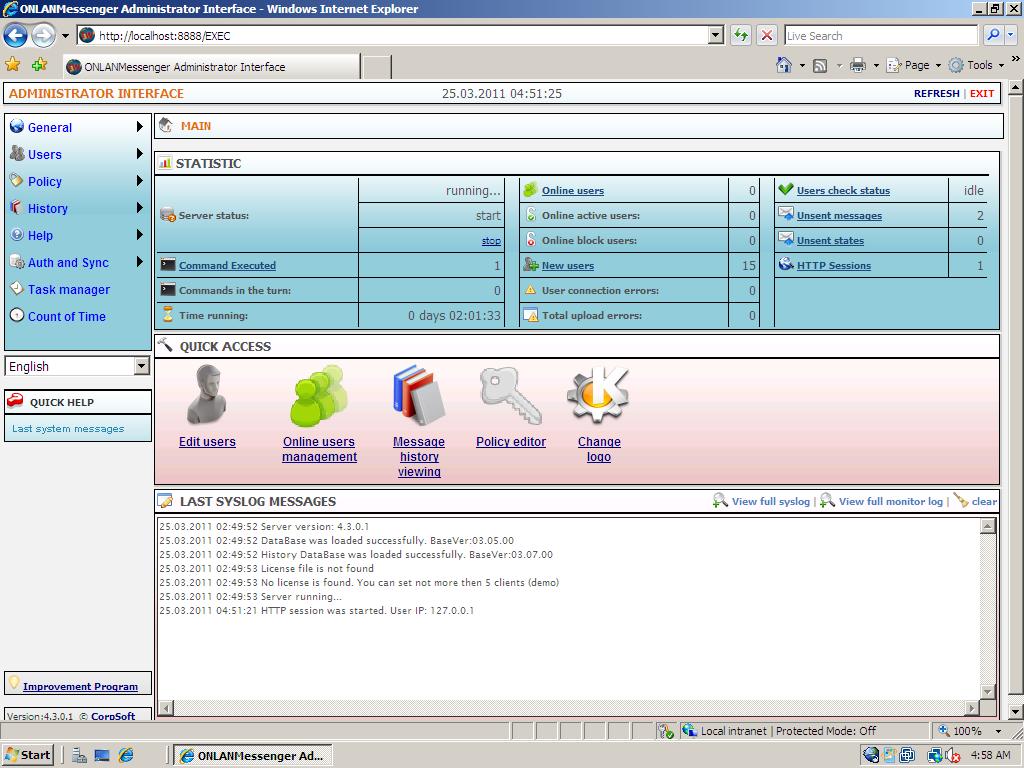
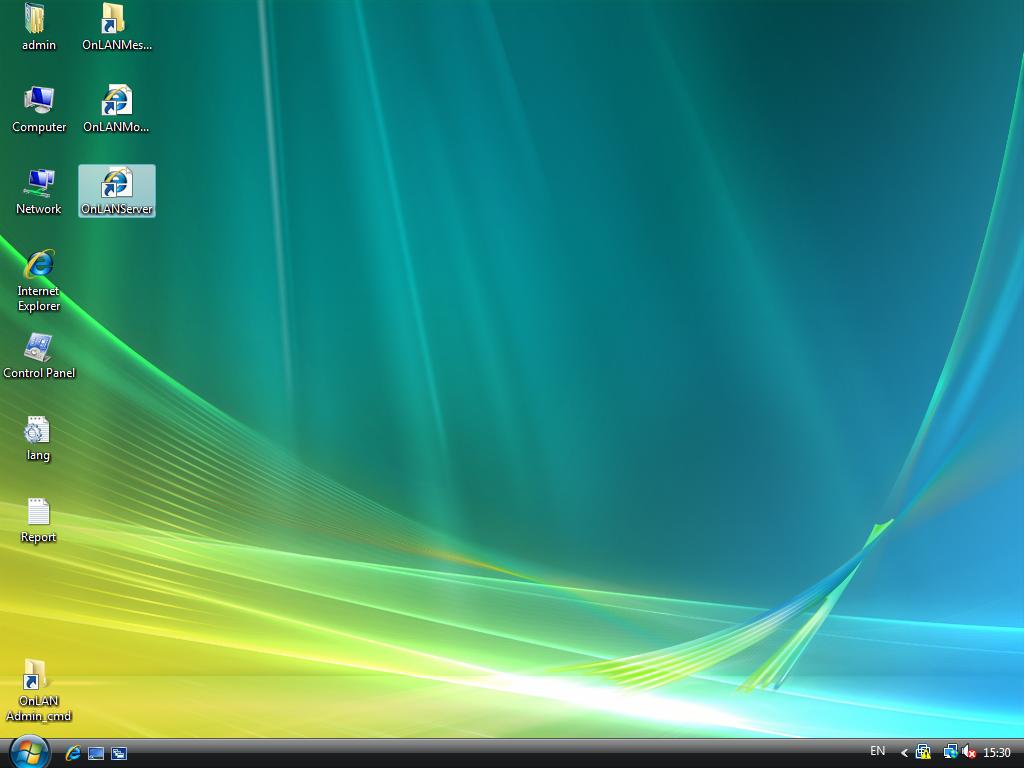
If you selected test database you can get login and password of a test user, proceed as follows: on server computer (the computer, where the program has been installed), open OnLAN Server shortcut on your computerís desktop to enter administrator web-interface.

Step 19
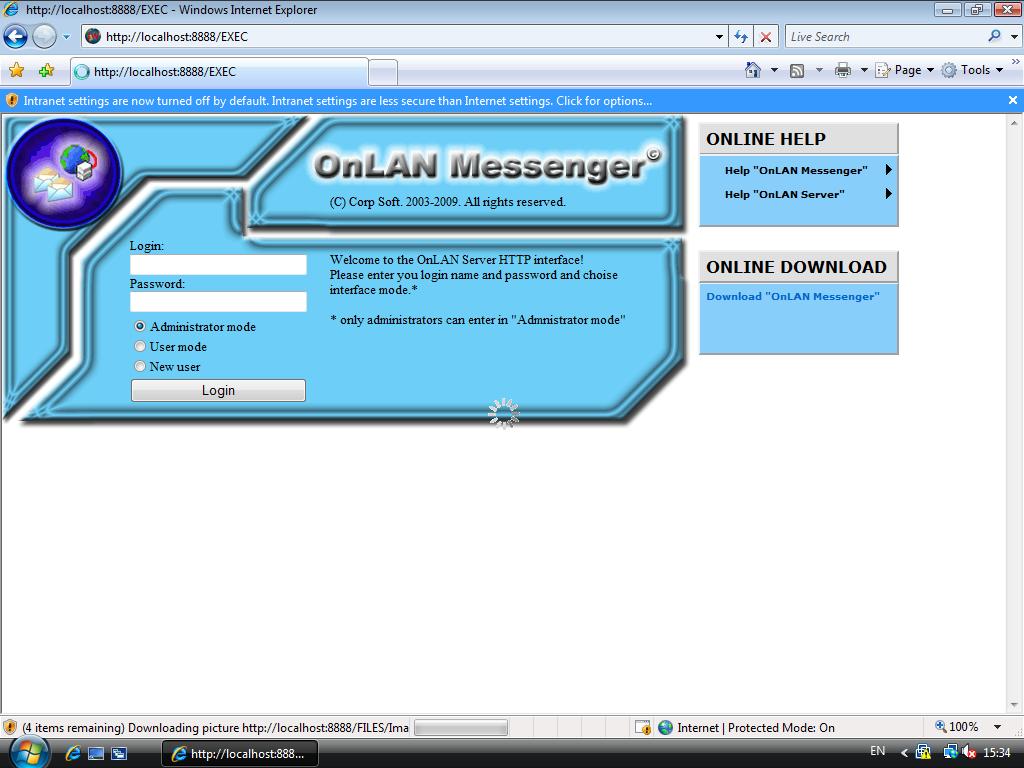
System will log in automatically. If this hasnít occurred, enter Login ñ ìadminî, Password ñ ìadminî (if your chose test database while installing the software).

Step 20
In Quick Access Block select Edit users.
Step 21
Select a test user. Remember his login and password.
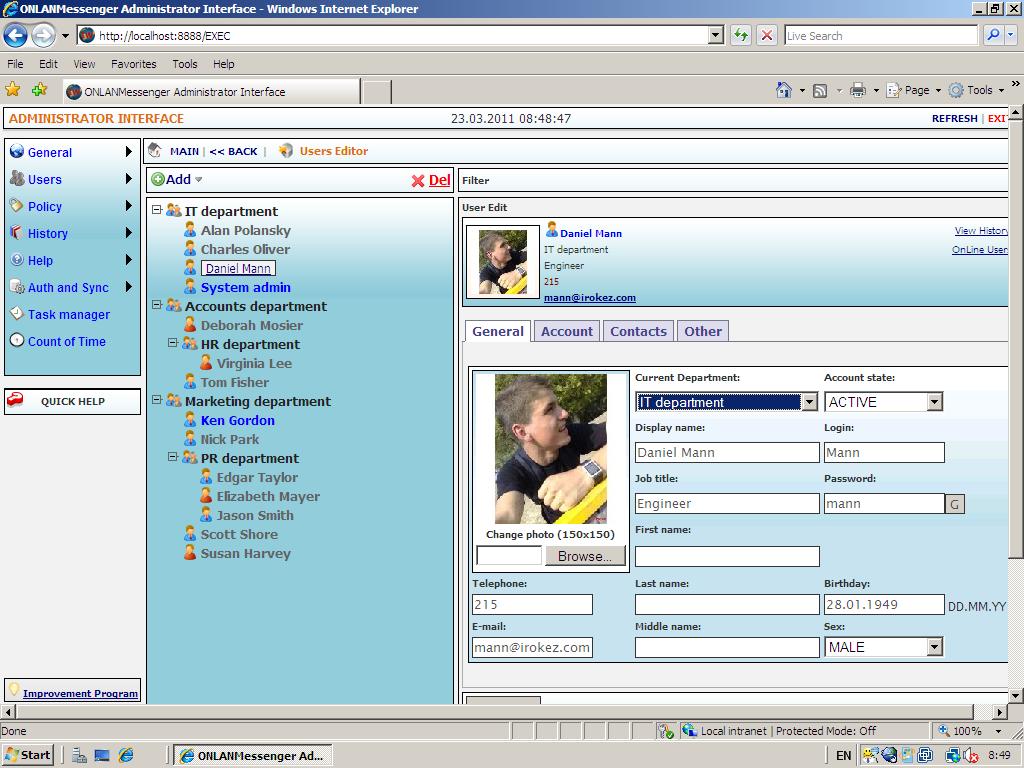
Step 22
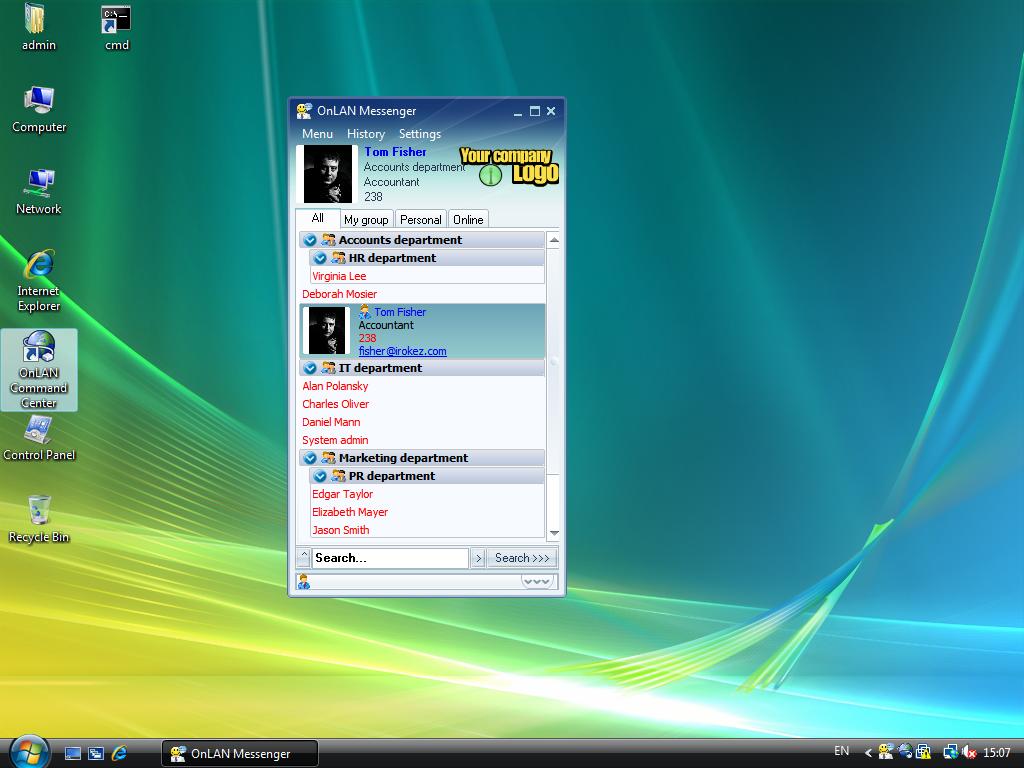
Go back to a userís computer. In ´serverª field, enter server computerís IP address. Enter login and password. Click on ìLoginî button.

Thatís all!
Command center
This instruction describes your actions while working in Command Center.
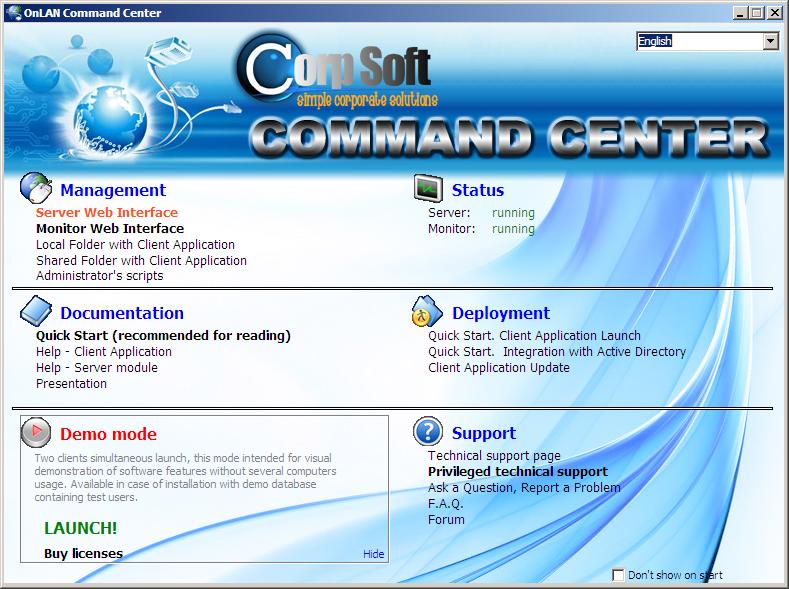
Command Center Launch
Upon the program installation, the Command Center will launch automatically. When you close the Command Center, it continues working in a minimized mode. To re-open it, click twice on the icon in the system tray.
Integration
This instruction shows the easiest way for an administrator to synchronize employee database and authentication parameters of your organization with OnLAN Messenger's contact list.
User database synchronization
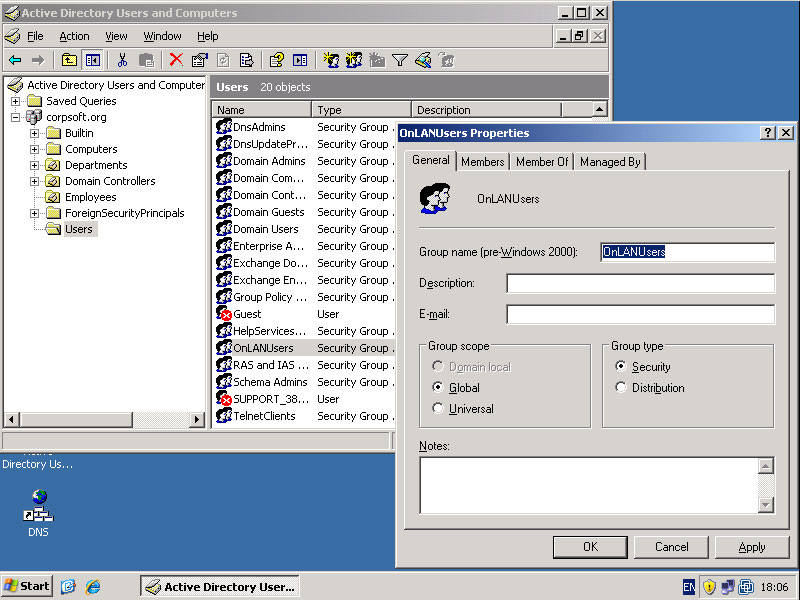
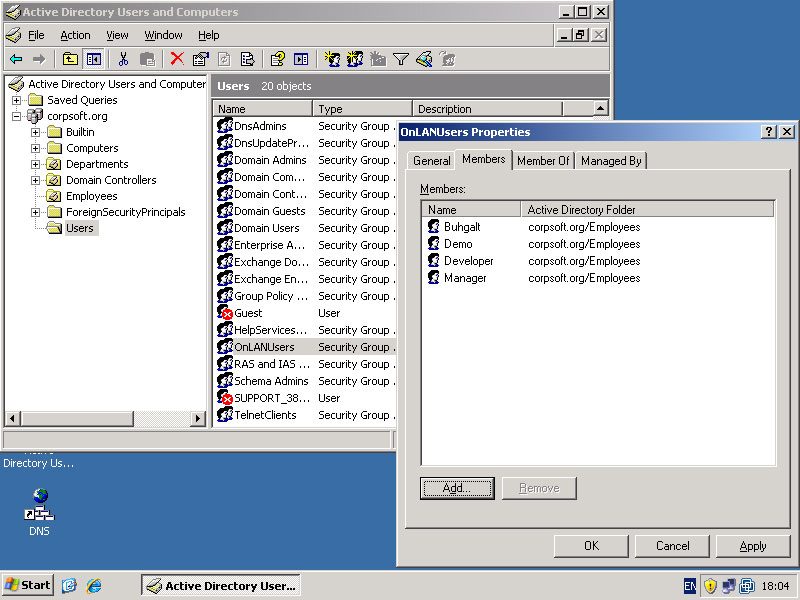
If you plan to synchronize database with Active Directory, you should preliminary create a group "OnLANUsers" in Active Directory (it must be created in system folder "Users", like on screenshot below), in which you have to include all of your company's users, for whom synchronization is necessary and who will be able to use the client application.
Step 1
After the business messenger software installation open OnLAN Server shortcut on your computerís desktop to enter administrator web-interface.
Step 2
System will log in automatically. If this hasnít occurred, enter Login ñ ìadminî, Password ñ ìadminî (if your chose test database while installing the enterprise messaging software).
Step 3
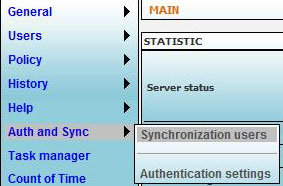
Choose ìAuth and Syncî-> ìSynchronization usersî in web-interfaceís main menu.
Step 4
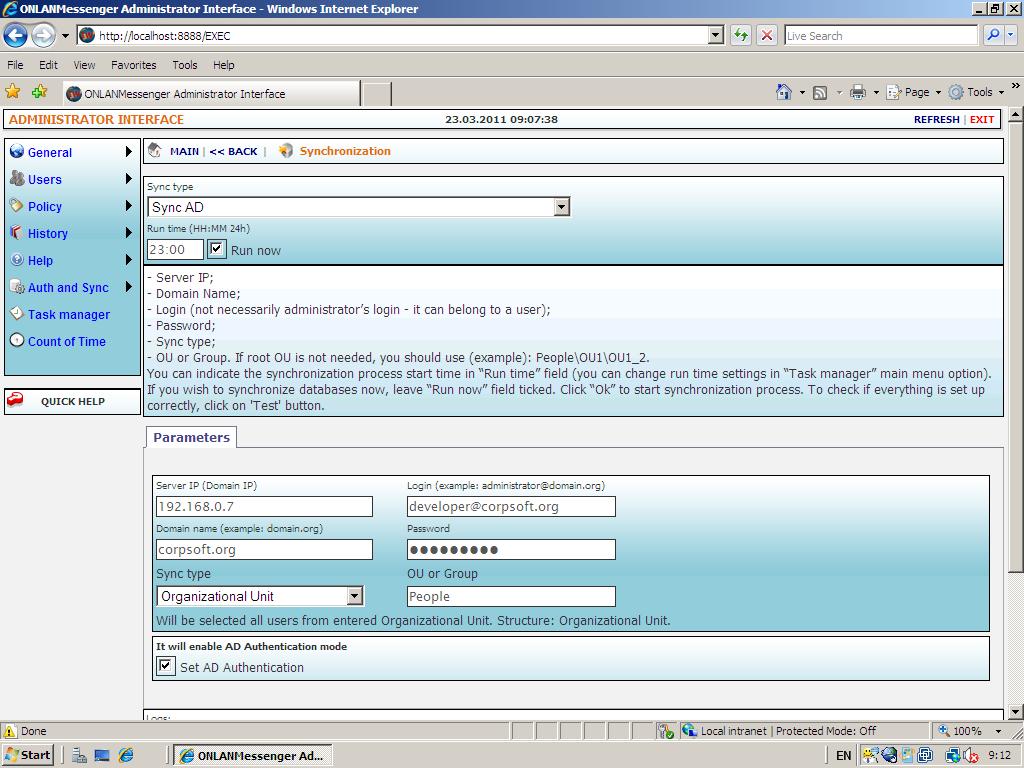
In ìSync Typeî option choose database type that you want to synchronize (´ADª - ´Active Directoryª on default). In Parameters section fields enter the following values:
- Server IP;
- Domain Name;
- Login (not necessarily administratorís login - it can belong to a user);
- Password;
- Sync type;
- OU or Group.
You can indicate the synchronization process start time in ìRun timeî field (you can change run time settings in ìTask managerî main menu option). If you wish to synchronize databases now, leave ìRun nowî field ticked. Click ìOkî to start synchronization process.
To check if everything is set up correctly, click on ìTestî button.
Synchronization is successfully completed, now you can view your colleaguesí names in OnLAN Messengerís contact list.
User Authentication
Step 5
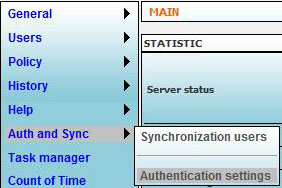
If you want to set up usersí authentication parameters choose ìAuth and Syncî-> ìAuthentication settingsî in web-interfaceís main menu.
Step 6
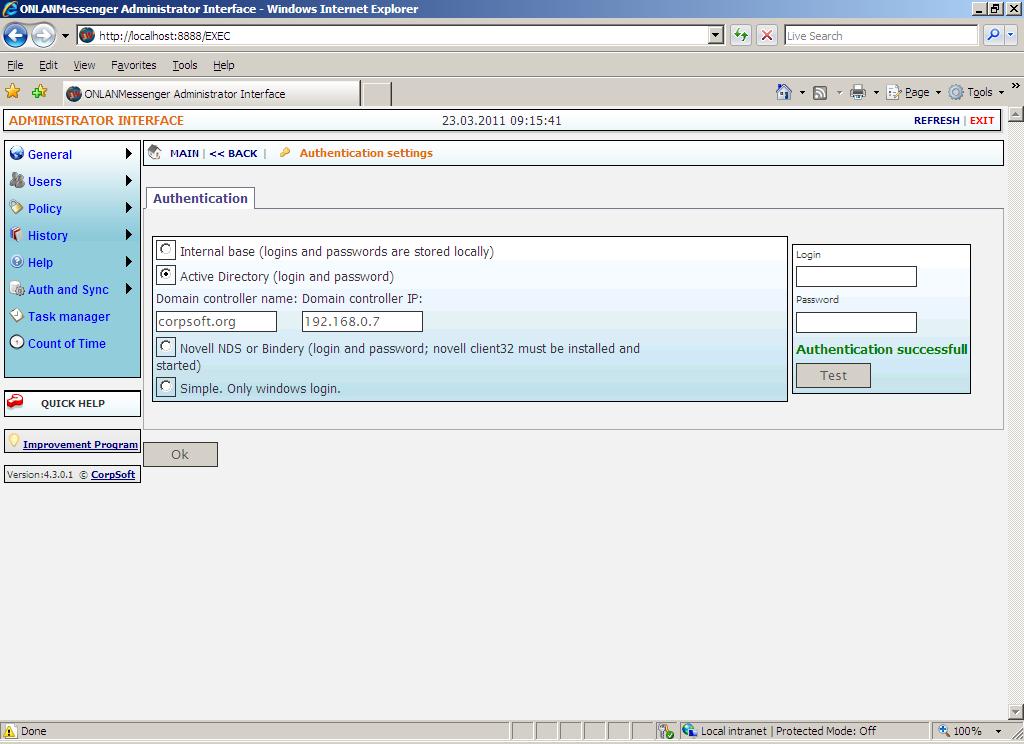
There are 4 authentication options:
1) Internal base, if logins and passwords are stored locally. Click ìOKî.
2) Active Directory, if logins and passwords are stored in AD database. It is also necessary to enter domain controller name and domain controller IP values. Click on ìTestî button and if everything has been entered correctly you will see ìAuthentication successful!î message. Click ìOKî.
3) Novel NDS or Bindery, if novel client32 is installed and started. Click ìOKî.
4) The easy one: Windows login only. Press ìOKî.
Enjoy secure messaging with your colleagues!